How to Upload Food Photos on Zomato for Your Restaurant: 2026 Guide
Good food photos help customers understand what they are ordering before they add an item to their cart. For a restaurant, café or cloud kitchen, menu images are not just for decoration. They can make the menu easier to browse, build trust and help dishes receive more attention.
According to Zomato, an effective menu should have high-quality dish images, accurate descriptions, suitable prices and properly organised categories. Zomato also considers photos, descriptions and item classification while evaluating the appeal and completeness of a restaurant’s menu.
This guide explains how restaurant owners can upload food photos on Zomato, prepare images correctly and avoid common mistakes.
Quick Answer: How Do You Upload Food Photos on Zomato?
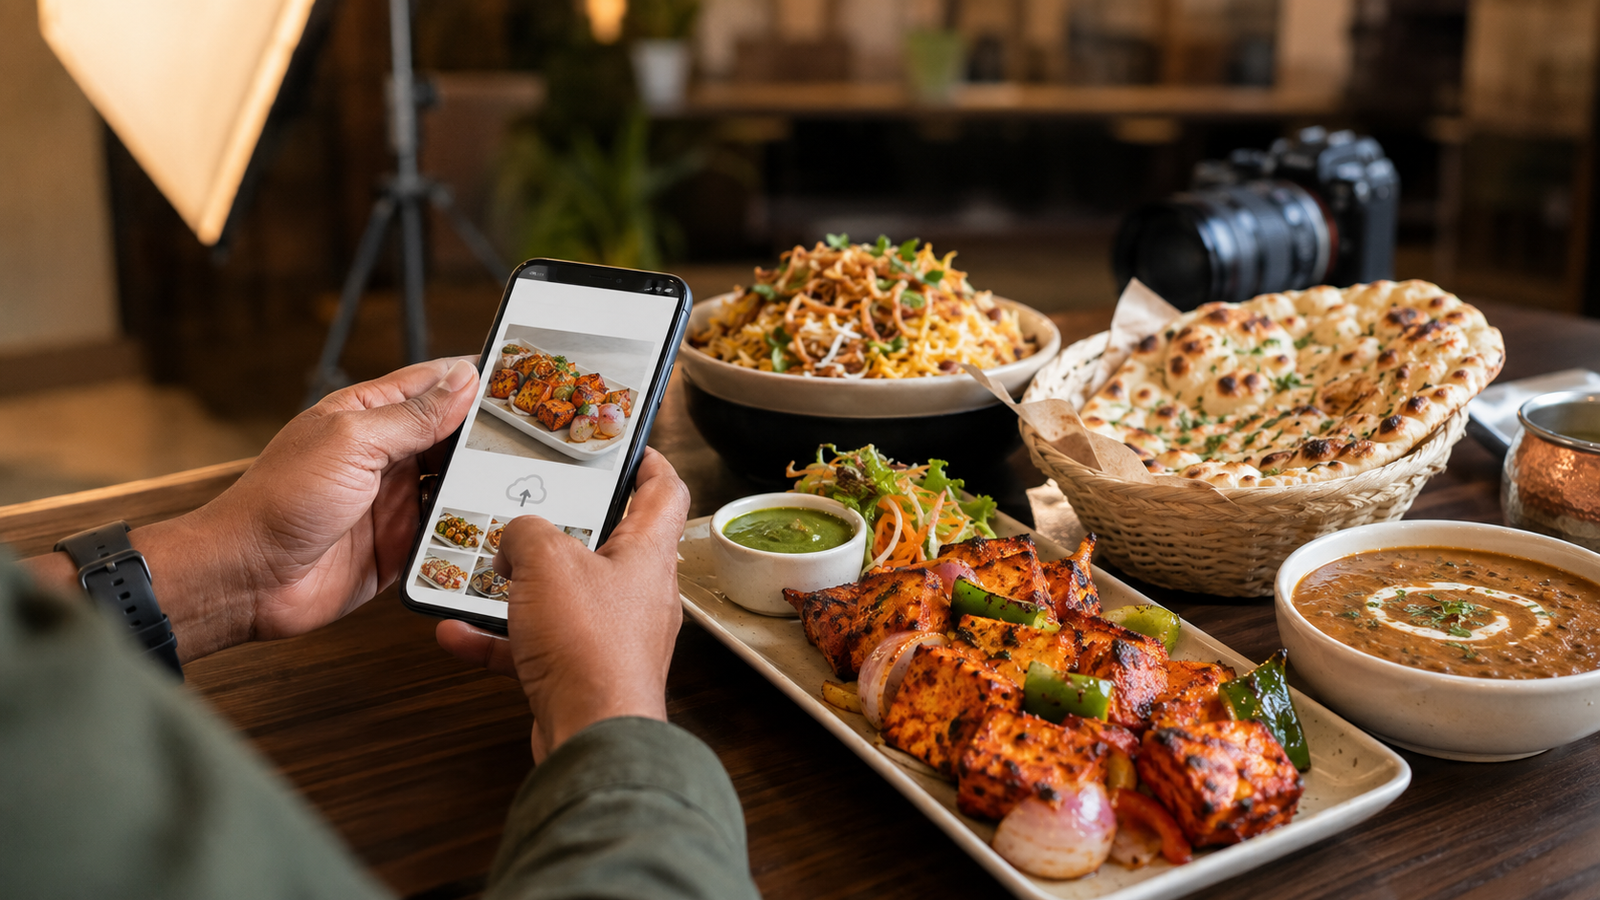
Restaurant owners can generally upload or update menu photos through the Zomato Restaurant Partner app or merchant dashboard.
The basic process is:
- Sign in to your Zomato Restaurant Partner account.
- Select the correct restaurant outlet.
- Open the menu management section.
- Select the category and food item you want to update.
- Upload a clear image of the actual dish.
- Check the item name, description and price.
- Submit the changes for review.
- Check the menu after approval to confirm that the image appears correctly.
The exact names and placement of these options may change with different versions of the Partner app. If you cannot find the upload option, contact Zomato Partner Support through your dashboard.
Important: The “Add Photos” option on a public restaurant page is mainly for customer or visitor photos. Restaurant owners should use the Restaurant Partner dashboard when updating official menu-item images.
Why Are Food Photos Important on Zomato?

A customer cannot smell, taste or physically inspect a dish while ordering online. The photograph becomes one of the main ways to understand the food.
A good image can help a customer answer questions such as:
- What does the dish look like?
- How is it served?
- Is it a dry dish, curry, bowl, platter or combo?
- What are the visible ingredients?
- Does the food look fresh and properly prepared?
- Does the presentation justify the price?
Zomato itself explains that appealing photos, accurate descriptions and organised menus can influence customer decisions. Its Menu Score system also considers menu appeal, including images and descriptions.
However, photography alone cannot guarantee more orders. Pricing, ratings, delivery time, location, offers, food quality and customer experience also affect performance.
Step 1: Plan Which Dishes Need to Be Photographed
You may not need to photograph every small add-on immediately. Start with the items that matter most to your menu.
Give priority to:
- Best-selling dishes
- Signature dishes
- High-value items
- Combos and platters
- New menu items
- Dishes that customers may not understand from the name
- Items with higher profit margins
- Popular starters, mains, desserts and beverages
- Dishes currently showing old or incorrect images
Create a simple spreadsheet before the shoot with these columns:
| Item Name | Category | Price | Image Required | Priority |
|---|---|---|---|---|
| Paneer Tikka | Starters | ₹320 | Yes | High |
| Dal Makhani | Main Course | ₹280 | Yes | High |
| Family Combo | Combos | ₹799 | Yes | High |
| Extra Dip | Add-ons | ₹30 | Optional | Low |
This avoids confusion during the shoot and makes it easier to match every photograph with the correct menu item.
Step 2: Prepare the Food for Photography
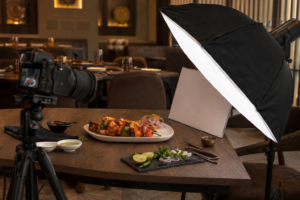
The photographed dish should look attractive, but it should also remain close to what the customer will receive.
Before photographing the menu:
- Use the same serving portion that customers normally receive.
- Select fresh ingredients.
- Clean the edges of bowls and plates.
- Arrange garnishes neatly.
- Avoid excessive oil or sauce marks.
- Prepare fried food close to the shooting time.
- Photograph ice cream and cold drinks quickly.
- Use clean, simple crockery that does not distract from the food.
- Keep the colour and quantity realistic.
Do not create a photograph that shows ingredients, quantity or accompaniments that are not included with the actual order. Misleading presentation can create wrong expectations and customer complaints.
Step 3: Use Suitable Lighting and Backgrounds
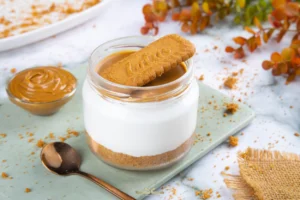
Lighting has a major effect on how food looks.
For most menu dishes, soft light coming from the side or slightly behind the food works well. It can show texture in rice, curries, breads, desserts and beverages without creating harsh shadows.
Try to avoid:
- Direct phone flash
- Mixed yellow and white lighting
- Very dark backgrounds
- Strong reflections on plates
- Distracting tables or props
- Heavy shadows hiding part of the dish
- Overexposed highlights
- Unnatural colour filters
A simple neutral background usually works better for menu photographs because the dish remains the main subject.
Restaurant ambience photographs can be more creative, but menu-item photos should normally be clear, consistent and easy to understand on a small mobile screen.
Step 4: Choose the Right Camera Angle
There is no single camera angle that works for every food item.
Use a top angle for:
- Pizzas
- Thalis
- Platters
- Bowls with visible toppings
- Table spreads
- Combos
- Multiple-item meals
Use a 45-degree angle for:
- Curries
- Biryani
- Pasta
- Noodles
- Desserts
- Most plated restaurant dishes
Use a lower or front angle for:
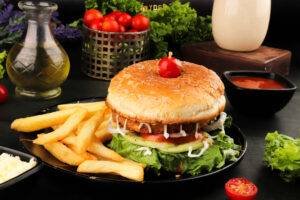
- Burgers
- Sandwiches
- Layered cakes
- Tall beverages
- Stacked food
- Items where height is important
Choose the angle that clearly explains the shape, portion and important ingredients of the dish.
Step 5: Edit the Photos Carefully
Editing should make the image clean and accurate, not artificial.
Useful corrections include:
- Exposure adjustment
- White-balance correction
- Natural colour correction
- Straightening
- Suitable cropping
- Removal of small dust marks
- Minor background cleanup
- Controlled sharpening
Avoid excessive saturation, fake colours, unrealistic steam, artificial ingredients or major changes to the food. A customer should receive something reasonably similar to the photograph.
Also keep the original high-resolution files. Zomato’s image treatment, crop or display style can change, and you may need another version later.
Step 6: Name and Organise the Images
Do not keep confusing camera names such as:
IMG_4827.jpg
Use clear filenames instead:
paneer-tikka.jpgdal-makhani.jpgveg-biryani.jpgfamily-combo.jpgcold-coffee.jpg
If your restaurant has multiple outlets, you can add the location:
paneer-tikka-gurgaon-sector-29.jpg
A clear naming system helps your team select and upload the correct photo against each menu item. The filename itself is not a guarantee of higher ranking, but it improves internal organisation and reduces upload mistakes.
Step 7: Upload Photos Through the Zomato Partner Dashboard
Follow this general process:
- Open the Zomato Restaurant Partner app or merchant dashboard.
- Sign in using the registered restaurant account.
- Choose the correct outlet if you manage more than one location.
- Open the menu or catalogue management section.
- Select a menu category.
- Open the dish you want to edit.
- Choose the image upload or edit option.
- Select the correct food photograph.
- Review the dish name, description, price and availability.
- Save and submit the changes.
Zomato may review the image before publishing it. Approval time can vary, so avoid making repeated uploads while the first request is still being reviewed.
You can access the official Zomato Restaurant Partner page for current partner information.
Step 8: Review the Live Menu After Approval
Do not assume that the work is complete immediately after uploading.
Open your restaurant on the customer-facing Zomato app and check:
- Is the correct image attached to the correct dish?
- Is the main subject visible after cropping?
- Does the photograph look good on mobile?
- Is any important part of the food cut off?
- Are the dish name and description accurate?
- Is the price correct?
- Are unavailable items marked correctly?
- Do all images have a consistent visual style?
Check every outlet separately. A menu update on one outlet may not automatically correct the menu of another outlet.
Zomato Photo Guidelines You Should Know
Zomato’s public photo guidelines favour clear, focused and relevant food or restaurant ambience photographs.
The platform states that images may receive reduced visibility or be removed if they include:
- Blurry or unclear food
- Duplicate photographs
- Stolen or copied images
- Promotional content
- Watermarks or written text
- People as the main subject
- Half-eaten food
- Food under preparation
- Irrelevant objects
- Unpleasant content
- Multiple near-identical photos of the same dish
Zomato’s public community photo guidelines and official menu-catalogue requirements do not always serve exactly the same purpose. However, clear, relevant and accurate images are the safest standard for both.
Read the latest official Zomato photo and content guidelines before uploading.
Common Reasons Food Photos Do Not Perform Well
1. The image is too dark
Customers cannot see the texture or ingredients properly.
Solution: Use soft, controlled light and correct the exposure without making the dish look washed out.
2. The wrong dish is uploaded
This can happen when images have random filenames.
Solution: Match the final image numbers with a prepared menu spreadsheet.
3. The photograph is over-styled
Too many props, ingredients and decorations can make the menu image confusing.
Solution: Keep the dish as the main subject and use minimal supporting props.
4. The food looks different from the delivered item
An unrealistic image may attract attention initially but can also create disappointment.
Solution: Photograph the real portion, presentation and accompaniments as accurately as possible.
5. Text or a logo is added over the food
Text overlays can obstruct the dish and may conflict with platform photo guidelines.
Solution: Upload a clean photograph without prices, phone numbers, promotional text or watermarks.
6. One photograph is used for several different dishes
Customers may not understand the difference between the items.
Solution: Use an accurate image for each important dish whenever possible.
7. The menu has no visual consistency
Different backgrounds, lighting styles and colour tones can make the restaurant menu look unplanned.
Solution: Photograph the menu in one organised session using consistent lighting, crockery and editing.
Mobile Photography vs Professional Food Photography
A modern phone can create usable images when:
- The menu is small
- Natural light is available
- The dishes are simple
- The person taking the photos understands composition
- Only a basic catalogue update is required
Professional food photography may be more useful when:
- You have a large restaurant menu
- Your brand has several outlets
- You need a consistent visual style
- The images will also be used on your website and social media
- You sell premium dishes
- Your old menu images look dark or inconsistent
- You need food styling and professional editing
- You are launching a restaurant, café or cloud kitchen
A professional shoot also creates reusable photographs for Zomato, your website, Google Business Profile, digital ads, social media and printed menus.
Zomato Food Photography Checklist
Use this checklist before uploading your images:
- The correct dish has been photographed.
- The portion is realistic.
- The food looks fresh.
- The photograph is sharp and properly exposed.
- Colours look natural.
- The plate and background are clean.
- There is no watermark or promotional text.
- No important part of the dish is cropped.
- The file has a clear name.
- The image matches the menu item.
- The dish name, price and description are accurate.
- The final image has been checked on a mobile screen.
- You have saved a high-resolution original copy.
Frequently Asked Questions
Can restaurant owners upload food photos directly to Zomato?
Yes. Restaurant owners can generally manage menu-item images through their Zomato Restaurant Partner app or merchant dashboard. The exact interface may vary by account and app version.
Can customers upload photographs to a restaurant’s Zomato page?
Yes. Customers may be able to add photographs with their genuine restaurant experience. These images are subject to Zomato’s content and photo guidelines.
How long does Zomato take to approve a food photo?
Approval time can vary. Zomato does not provide one fixed approval time that applies to every restaurant and every update. Check your Partner dashboard for the current status.
Why was my Zomato food photo rejected or removed?
Possible reasons include a blurry image, duplicate content, an incorrect dish, promotional text, a watermark, irrelevant subjects or a photograph that does not meet platform guidelines.
Should Zomato food photos have a logo or watermark?
It is safer to upload clean food images without watermarks, phone numbers or promotional text. Zomato’s public photo guidelines list watermarks, text and promotional content among the material that may be removed or receive reduced visibility.
What camera is best for Zomato food photography?
There is no compulsory camera. A phone can work for a basic update when lighting and composition are good. Professional cameras and controlled lighting can provide better consistency for large menus and multi-platform marketing.
How many photos should a restaurant upload?
There is no single correct number for every restaurant. Start with your best-selling, signature and high-value dishes. Gradually cover the important items in every major menu category.
Can the same images be used on Swiggy, a website and social media?
The same professionally photographed dish can often be adapted for multiple platforms. However, each platform may crop and display images differently, so separate export sizes and crops may be required.
Do professional food photos guarantee more Zomato orders?
No photographer or agency can honestly guarantee orders. Good images can improve clarity, presentation and customer confidence, but orders also depend on ratings, pricing, delivery experience, offers, location and food quality.
Final Thoughts
Uploading food photos to Zomato is not only a technical task. It is part of building a clear and trustworthy digital menu.
Start with your important dishes, photograph the actual portions, keep the presentation clean and upload every image against the correct menu item. After approval, review the complete menu on a mobile phone and correct any mismatched or poorly cropped images.
If your restaurant has a large menu or needs consistent photographs for Zomato, Swiggy, its website and social media, planning one professional food shoot can be more efficient than creating different images separately for every platform.